How to Create SSH Key Pair in Windows 11 On WEkEO
This guide will show you how to generate an SSH key pair in Windows 11 using OpenSSH. You will then be able to use that key pair to control appropriately configured virtual machines hosted on WEkEO cloud.
This article only covers the basics of this function and assumes that you will not change the names of generated keys.
Prerequisites
No. 1 Local computer running Windows 11
We assume that you have a local computer which runs Windows 11. This article does not cover the Windows Server family of operating systems.
Step 1: Verify whether OpenSSH Client is installed
Open the Command Prompt (cmd.exe).
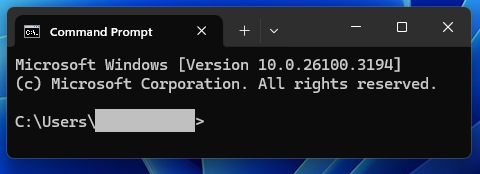
Execute the following command and press Enter:
ssh
If SSH client is installed, the output should contain information about how to use it:
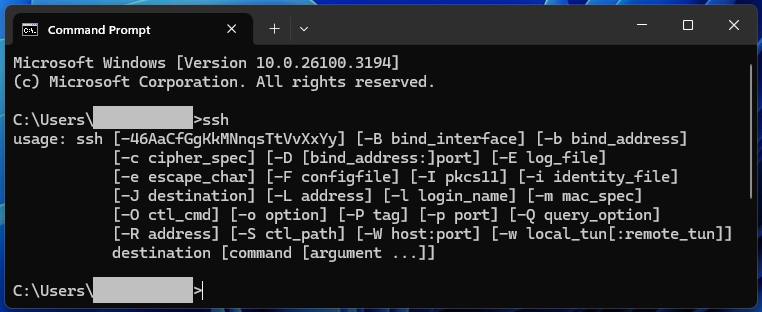
If, however, you got the following output:
'ssh' is not recognized as an internal or external command,
operable program or batch file.
it means that SSH client is not installed on your machine.
Step 2: Install OpenSSH
This step is only required if you don’t have SSH client installed. If you do have it, skip to Step 3.
Minimize the Command Prompt if you still have it open.
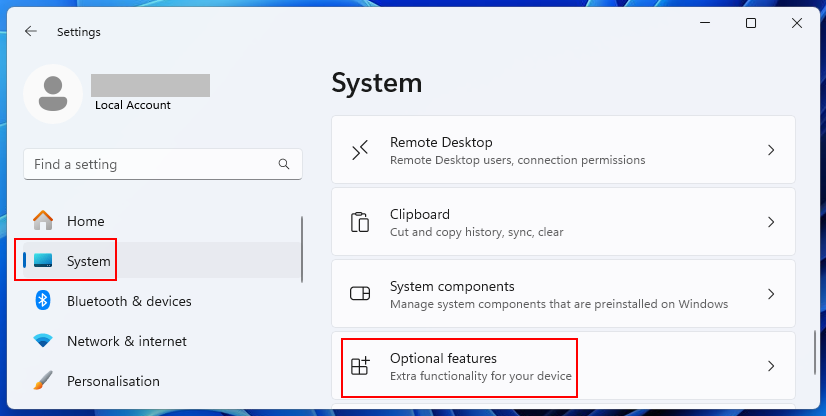
Open the system Settings application and enter section System -> Optional features
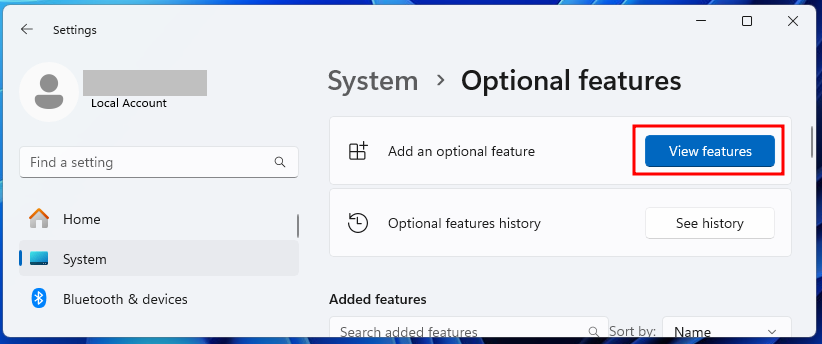
In section Add an optional feature, click View features.
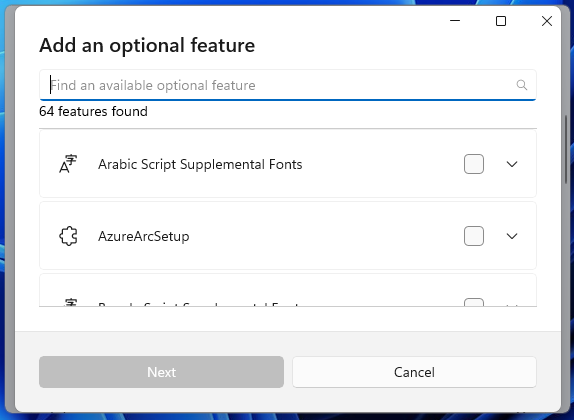
In text field Find an available optional feature, enter openssh
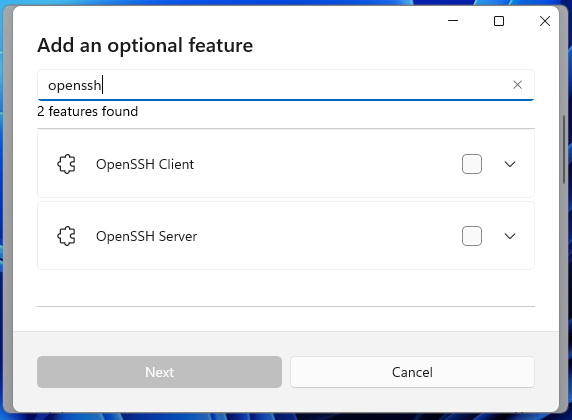
Two features should be displayed:
OpenSSH Client which you can use to control other devices.
OpenSSH Server which you can install to allow other devices to control your computer. This option is outside of scope of this article.
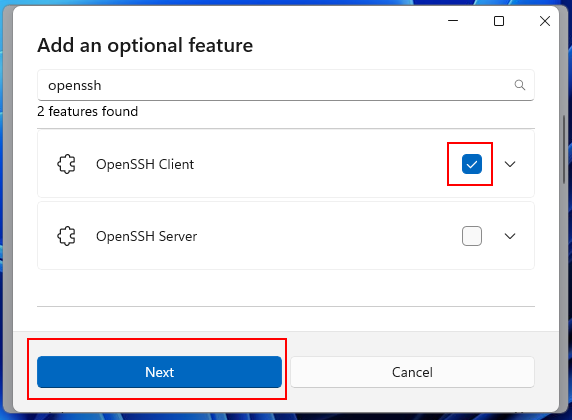
Tick the checkbox next to OpenSSH Client and click Next
You should now get the following window:
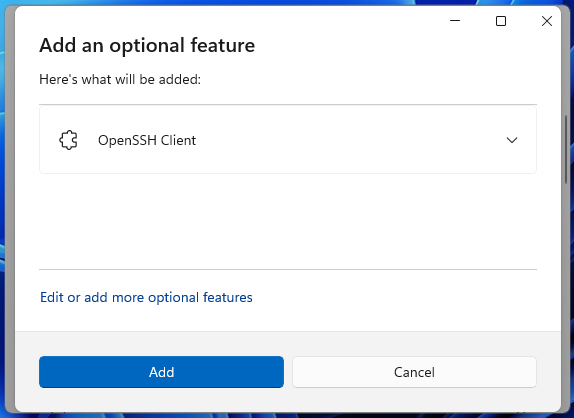
Click Add
Wait until the process is finished:
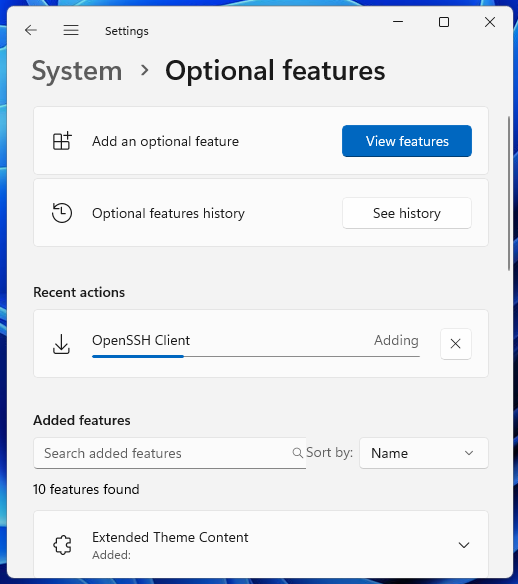
It might last several dozen minutes.
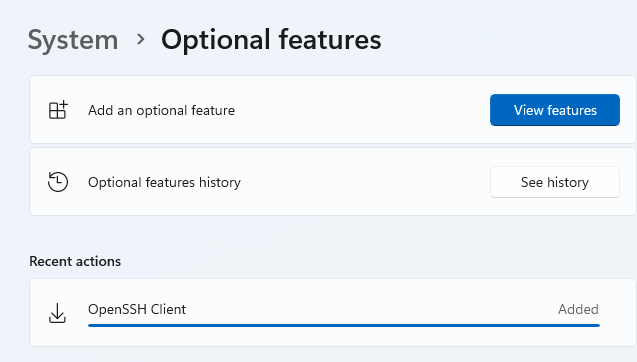
Once it’s over, you should see the confirmation that the component was Added
Step 3: Use ssh-keygen to generate an SSH key pair
Return to the Command Prompt you previously opened. Enter the following command to generate an SSH key pair:
ssh-keygen
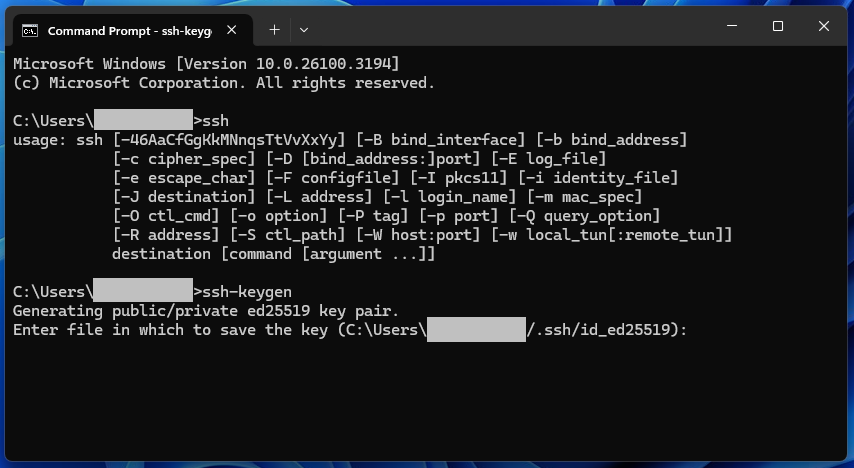
Of course, you can fine tune the security and other properties of this key pair during this process. However, if you’re just getting started, you can simply accept default values by pressing Enter multiple times until the program finishes its operation and you are once again prompted for enterring the command.
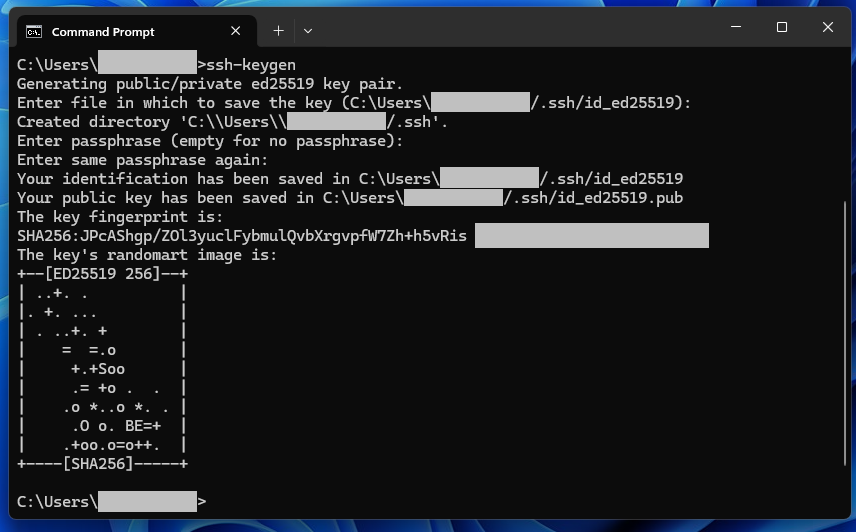
Your key pair should now be generated.
As of writing of this article, by default this process should create:
a directory .ssh in your home directory, and in that directory:
file id_ed25519 for secret key, and
file named id_ed25519.pub for public key
OpenSSH names these files based on algorithm used. As of writing of this article, the names of these files come from the Ed25519 algorithm. Previously, the RSA algorithm was used, and the files were by default called id_rsa and id_rsa.pub
If in the future the default algorithm used by OpenSSH changes, the default names of keys will likely be different.
Step 4: See generated key pair
Open the Run window by pressing the key combination Windows+R (if you are using a macOS keyboard, then Cmd+R)
Enter in its text field:
%USERPROFILE%\.ssh
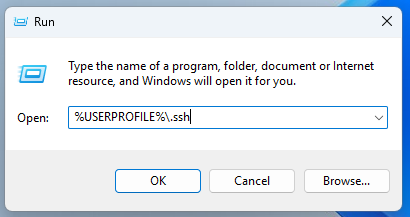
You should get to .ssh folder which is located in your account profile folder.
You should there see your SSH keys:
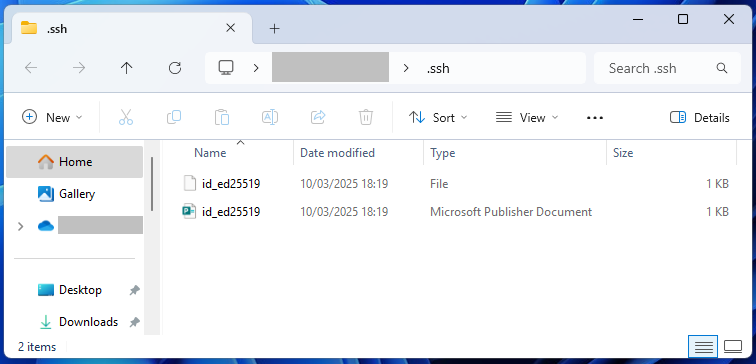
In our example, these are two files:
id_ed25519 which is our private key
id_ed25519.pub which is our public key
Note that public SSH key and Microsoft Publisher documents share the same extension - .pub
Because of that, Windows might mistakenly mark your public SSH key as a Microsoft Publisher document, as was the case on screenshot above.
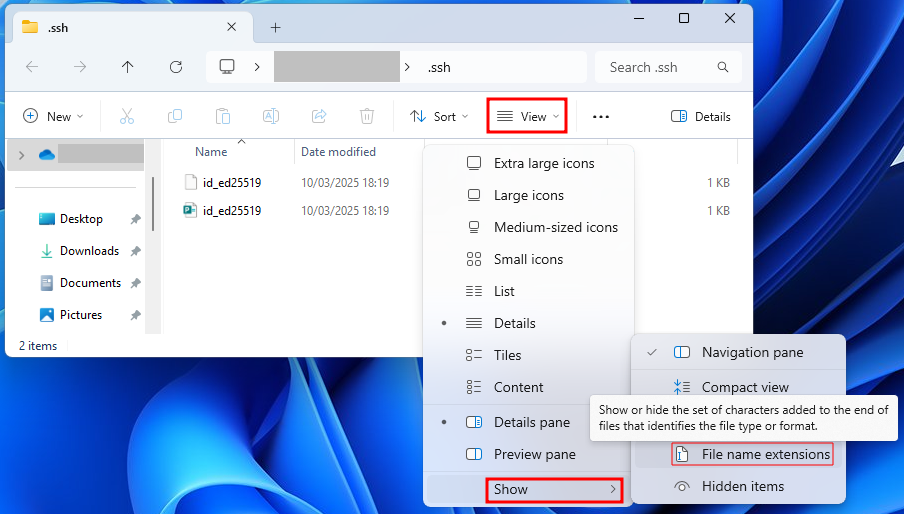
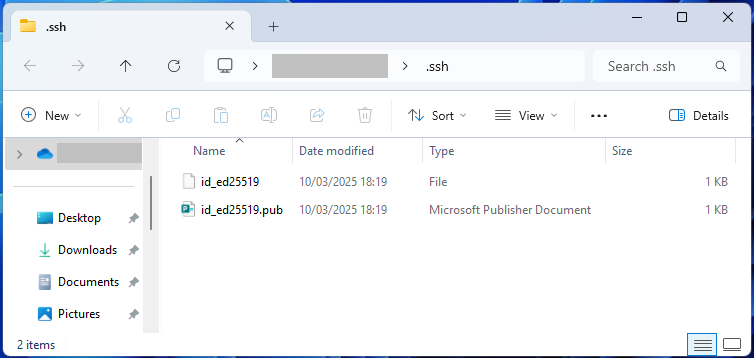
If you want to see the full extensions of files, including .pub, click View on the task bar of the File Explorer. After that, click Show -> File name extensions
What To Do Next
For Windows 10, see this guide: How to Create SSH Key Pair in Windows 10 On WEkEO
To be able to easily add your new public key to VMs you might create in the future, upload it to OpenStack. Thanks to that, you will be able to use it to authenticate to VMs which support it.
Learn more here:
How to add SSH key from Horizon web console on WEkEO
Once you’ve done it, you can create a new virtual machine on WEkEO cloud and authenticate with your key pair:
How to create a Linux VM and access it from Windows desktop on WEkEO
The following articles cover how to connect to virtual machines via SSH once they’ve already been created: